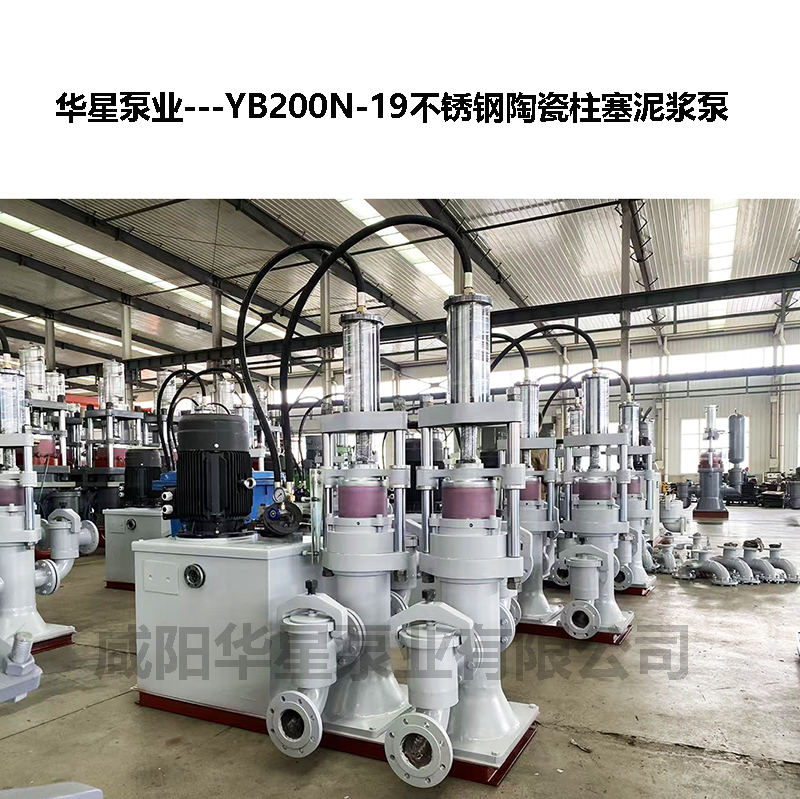
Disassembly of ceramic plunger mud pump
Tools required before disassembly:
Ceramic plunger special puller
Used to safely remove ceramic plungers, avoiding direct tapping or prying.

Generally, it is a three claw puller or a specially designed fixture that can evenly apply force.
Sealing installation/removal tool
Sealed extractor (hook shaped or sheet shaped), used to extract the sealing ring without scratching the plunger or cylinder body.
When installing the seal, use a guide sleeve or conical guide tool to avoid curling the lips.
Special tools for hydraulic systems
Hydraulic oil pressure gauge (detecting residual pressure).
Hydraulic pipe joint wrench (anti bite buckle).
Hydraulic cylinder piston extractor (if the power end needs to be disassembled).
Cleaning and testing tools
Soft bristle brush, nylon scraper (without damaging the ceramic surface).
Surface roughness detection piece or magnifying glass (for inspecting ceramic plungers).
Calipers and micrometers (for measuring the size of sealing grooves).
General Tools
Complete set of torque wrenches (to avoid bolts being too tight or too loose).
Hexagonal wrench, open-end wrench, and plum blossom wrench.
Plastic or rubber hammer (prevents cracking when loosening parts).
Disassembly steps of ceramic plunger mud pump
Safety preparation
Turn off the power, cut off the hydraulic oil or transmission system.
Drain the mud and pressure inside the pump body to avoid splashing during disassembly.
Wear protective goggles and gloves to prevent damage from ceramic shards or mud.
Disassembly of external attachments
Remove the flange connecting pipes from the inlet and outlet of the slurry.
Remove the protective cover, oil pipe, air pipe, etc. on the outside of the pump body.
Separate the power end from the hydraulic end
If it is a hydraulic drive type, first remove the connecting bolts between the hydraulic cylinder and the pump head.
Separate the power end (hydraulic part) from the hydraulic end (pump head part).
Disassemble the pump head components
Remove the pump head cover or valve cover, and take out the inlet and outlet valve components (valve seat, valve disc, spring, etc.).
Carefully remove the ceramic plunger and be careful not to let it collide with metal parts to avoid cracking.
Remove the sealing component
Remove the sealing cover, take out the sealing ring, guide sleeve, etc.
Check the wear of the seals and replace them if necessary.
Decompose the power end (if necessary)
For the hydraulic cylinder section, first release the hydraulic oil.
Remove the hydraulic cylinder end cover, take out the piston, piston rod, and seal.
Pay attention to recording the installation direction of each component for easy reinstallation.
Cleaning and Inspection
Clean all parts, especially the surface of the ceramic plunger, with clean water or neutral cleaning agent.
Check the ceramic plunger for cracks, scratches, and aging of the seals.
